The Ultimate Guide to Making Your Own Cold Brew
How to Make Your Own Cold Brew and Save Serious Plastic (and Cash!)
Temperatures outside are climbing, summer is unofficially here, and that mid-afternoon, steaming cup of drip coffee is just not cutting it for getting through the afternoon slump. Cold brew iced coffee is now the de facto coffee beverage of summer, and there's no better way to enjoy the perfect cup than by brewing it yourself!
We're going to make our own cold brew
Now is the perfect time of year to finally master – yes, MASTER – the art-slash-science of brewing your own delicious cold brew iced coffee at home. In fact, I’m enjoying one right now as I write this post!
Fear not, I won't be asking you to swear off your favorite coffee shop stop forever - but don't be surprised if, after trying this recipe, your old usual becomes a little less appealing.
Why? Because homemade cold brew is delicious
For me, making my own cold brew has made me a total coffee snob. My cold brew tastes sweeter, stronger, smoother, and richer than any iced coffee I have ever had. I will say, Starbucks is a very close runner up, and I happen to really love their cold brew. Chick-fil-a takes third place (seriously, it's good). Those airport coffees and donut shop coffees don’t even compare to how great a beverage I can make for myself! And you can do it, too!
And it’s so EASY! And CHEAP! And FUN!
I've been brewing my own for three years now, so I'm going to hook you up with all the knowledge you need to get started yourself.
Making your own is also really good for the environment
Of course, there is the undeniable positive environmental impact of making your own coffee at home that simply cannot be ignored. I am ALL FOR treating yourself now and again, folks. I am not here to tell you that your daily coffee stop is a bad habit, or that you really should be bringing your reusable cup with you, or that those 365 green straws you used last year are killing turtles as we speak (they’re probably not and, besides, you have plenty to stress over). But it’s impossible to ignore the plastic and paper waste you get to avoid when you make and bring your own coffee. Making your own iced coffee at home is the environmentally-friendly way to keep up with your daily coffee treat!
Even better – a stainless steel insulated tumbler will keep the ice in your beverage frozen and your coffee cold all day. Psst... Don't forget your silicone straws! When I head to an outdoor market to set up shop for the day, I always bring a cold brew in my insulated stainless steel tumbler, with my silicone straw folded up inside. Even after 4 hours standing around on asphalt in the Florida heat, the ice hasn't even begun to melt. Life hack. You're welcome.
And you can actually save money
Because you're going to use ONE bag of coffee to make a WEEK’s worth of delicious cold brew iced coffee, brewing your own is a serious money saver. Before we go any further, I want to work that math out for you!
If your daily cold brew from Starbucks is $5, but you can make 7 days’ worth (yeah, you get to have one on Saturdays and Sundays now because it lives in your fridge) for the cost of one $8 bag of coffee… you are saving around $17 every week! If you do this every week for three months, you've saved yourself around $200. Score!
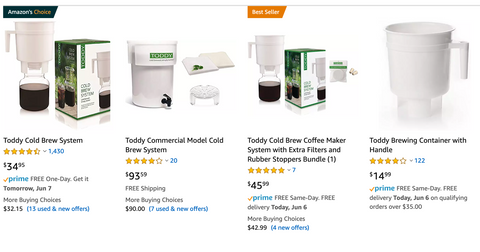
The cost of the Toddy system is almost negligible in the long run. For $35 you can make your own toddy every week for years. You will have to replace the filters at least once a year, but you can make them last longer by only using coarse ground coffee, which won’t get stuck inside the fibers. If you want to save $10, purchase the container, filters, and stoppers separately... just search "toddy cold brew system" on Amazon and you'll see what I'm talking about.
Cold brew is also super easy to get right, and takes only a few minutes of hand-on time. Even if you're pressed for time or have a list of other DIY projects and recipes you've never gotten to, you can make time for this one, and it's oh-so-worth-it!
It also may have more caffeine
The slow process of cold-brewing coffee can extract more caffeine that brewing it quickly using hot water.
Starbucks's cold brew is known for its high caffeine content. According to caffeineinformer.com:
Starbucks Cold Brew Coffee contains 12.50 mgs of caffeine per fluid ounce (42.27mg/100 ml).
That's 200 mgs in a Grande (16 ounce) beverage. And according to Caffeine Informer, there's even more in a cold brew from Dunkin Donuts. By comparision, that's almost as much as THREE CANS of Red Bull.
So, if you're sensitive to caffeine (and heck, even if you're not) start with consuming small amounts at a time, early in the day. While caffeine in these quantities (less than 400 mg per day) isn't known to cause health issues in healthy people, it can still affect sleep even when consumed early in the day, and keeping caffeine intake down can be useful in managing symptoms of stress and anxiety.
But if you're like me, and that caffeine is what gets you through your to-do list while still having energy for the gym, laundry, and dishes, you're going to seriously love this stuff!
Here's what you'll need to start making your own cold brew
Materials:
- Cold Brew System
- Coarse Ground Coffee
- Water
Your Cold Brew System
You need a cold brew system. I use a Toddy Cold Brew system (shown above) that I received as a gift three years ago from my awesome sister who shares my passion for all things cold brew. There are certainly other ways to brew your own “toddy” but this is the method that has worked GREAT for me. It makes just the right amount for one person for about 5-7 days, and I highly recommend it. If you find yourself motivated in this moment, go ahead and order it – you won’t regret it. You can also research alternatives, or you might even invent your own clever DIY method. (If you do, let us know in the comments!)
The Toddy Cafe system does take up a bit of cabinet/pantry space, but it's basically an empty bucket when not in use, so you can store other things inside it if you're pressed for space.
The Coffee
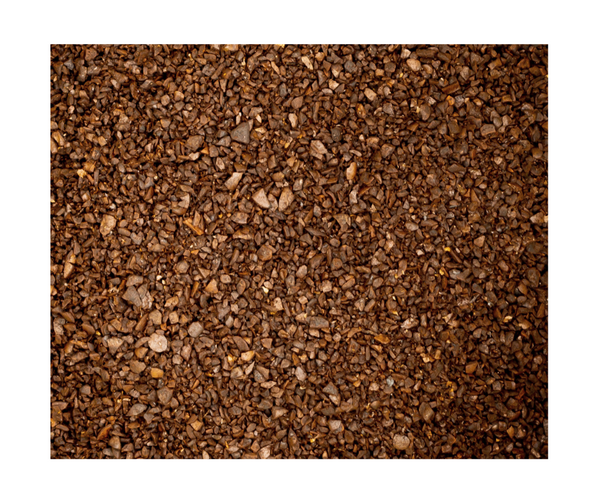
Next, you need coffee. Each batch requires 10-12 ounces of ground coffee. You will want to use coarse ground coffee for your cold brew. Finely ground coffee will pack down at the bottom, preventing the brewed coffee liquid from dispensing through the filter. This will at the least be messy to remedy, potentially ruining your filter, and at the worst create a situation where you lose a batch of cold brew – the horror!
There are pre-ground options for coarse ground coffee, which I suggest using for at least your first few times to make sure you get it right. This is especially useful advice if you’re not used to grinding your own beans.
Once you have established the “baseline” with your pre-ground coffee, you can begin to experiment with grinding it yourself, if that interests you. If you already grind your own beans coarsely for other applications (like for French press) then you should be okay.
Coffee brand recommendations
I’m using Inspired Coffee Co.’s Snickerdoodle blend. It’s $12.99 on Amazon, which is on the higher end price-wise, but it’s ultra smooth and ground specifically for cold brewing. It's also flavored, if you're into that kind of thing. For non-flavored options, I like Gevalia’s Coarse Ground coffees, which are also available on Amazon. If you have a coarse ground coffee you buy and love, please share in the comments!
Tasty water makes it better
For every 10-ounce bag of ground coffee, you’ll use a total of 7 cups of cold water. If using a 12-ounce or 1-lb. bag, you can add a little more water (up to 1/2 cup more, for best results don't go past that). You'll want to use filtered water or I personally use Nestlé Pure Life Purified Water that we get delivered corporate office style, since the tap water where we live tastes pretty gross.
How it Works
First, let’s look at how the Toddy Cafe Brew System works.
It’s basically a big bucket, with a removable handle and a hole in the bottom. You'll insert a small stopper into the bottom (be sure to insert it FROM the bottom or you will hate life later), and then the fat round filter fits into the bottom of the container. Coffee grounds and water are combined inside, and the deliciously sweet nectar is released into the carafe via the spout the next day.
The result is a smooth, earthy, and almost sweet coffee beverage that is about to be your new favorite thing.
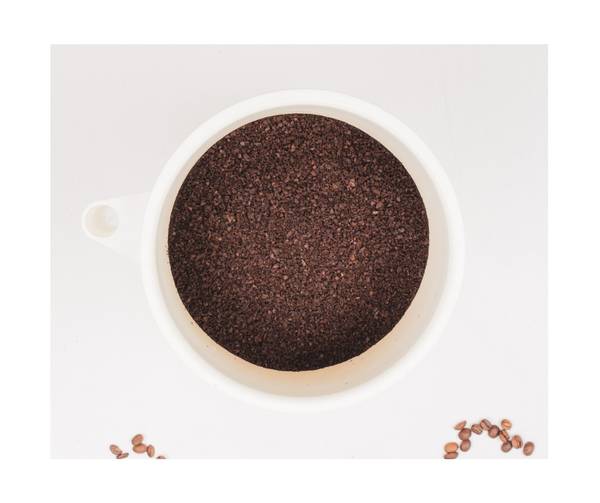
Heat is what makes traditionally brewed coffee bitter. Because there is no heat involved in the brewing of “cold brew” the resulting taste is quite the opposite of bitter. That said, this is not your typical iced coffee. Before I knew what cold brew was (sad times) I was an iced coffee fanatic. There was one year that Starbucks actually had DECAF iced coffee, and it was a great year for me. I added 2% milk and a Splenda. I embraced the bitter taste because, well, at least it was strong, and eventually even acquired a taste for it.
But gone are those days. We have better choices now! And don’t get me started on cold brew beverages in individual bottles. I have never had one that tastes even CLOSE to as good as the recipe I am about to share with you guys!
So, with all that said, let’s get started.
Setting it up to brew
To start brewing, make sure your stopper is inserted (from the bottom) and then press your filter into place in the bottom of the container.
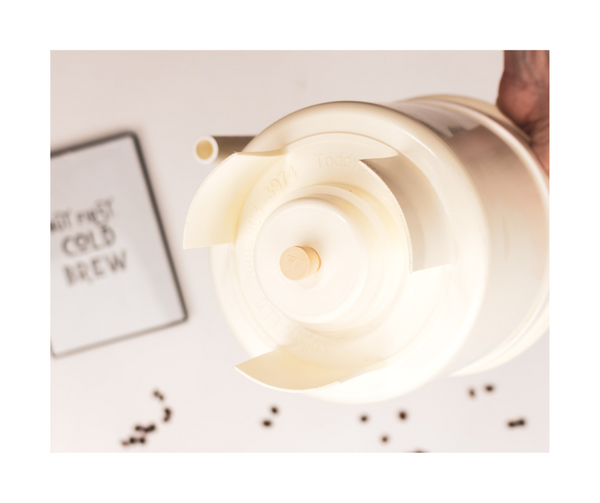
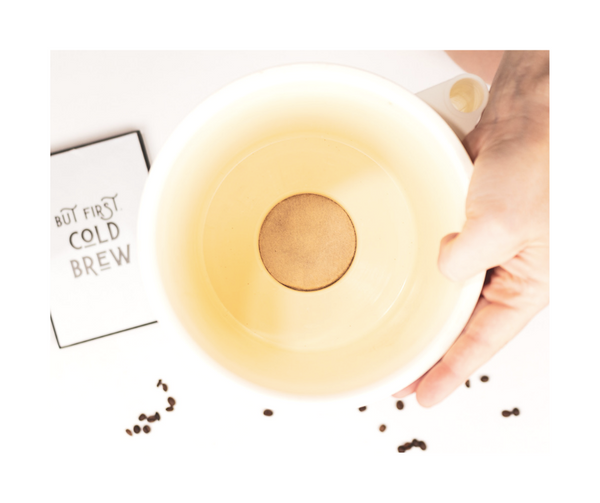
Next, pour in one cup of water and let your filter become saturated. Press the filter again snugly in place.
Then you'll add half the bag of coffee.
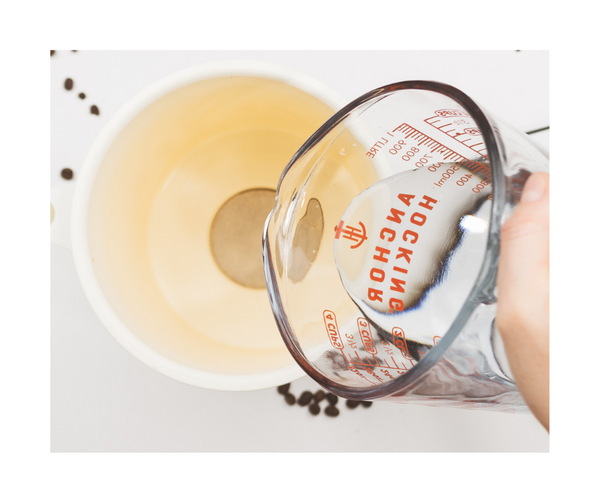
Gently and slowly pour 3 cups of water over the coffee grounds.
You MUST resist the urge to stir - mixing or stirring up the coffee can actually ruin the filter, so you just need to drench the coffee without stirring it around.
Let this first layer sit for five minutes, then add the other half of your beans.
Next, pour the other three cups of water slowly and evenly over the rest of the beans.
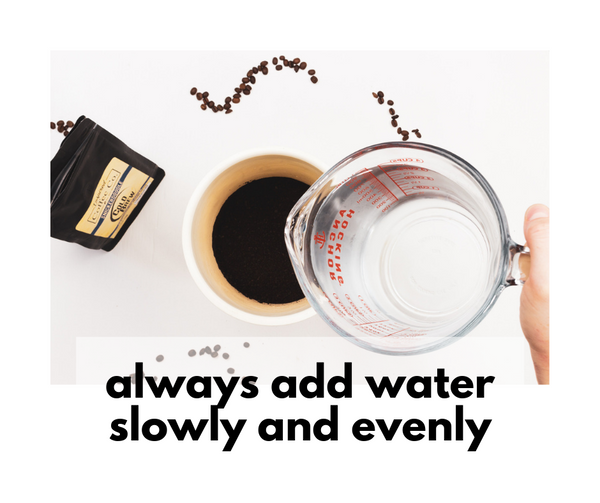
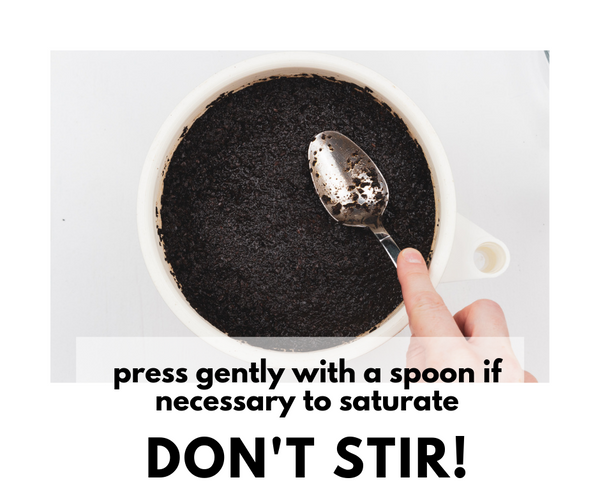
Use the back of a spoon to gently press all the coffee underneath the surface of the water. Do not stir, though!
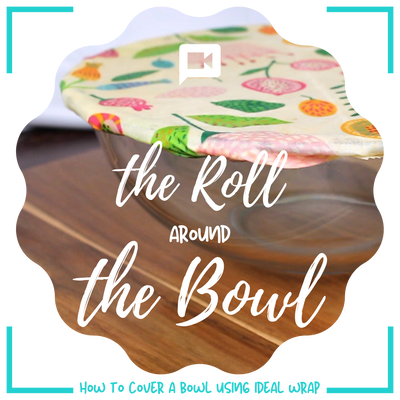
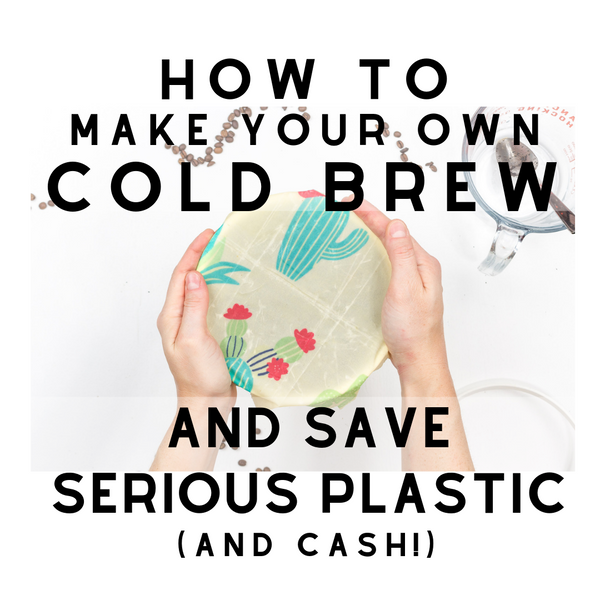
Cover your toddy brewer with an Ideal Wrap (shameless mention). The medium size is perfect. While it’s not technically necessary, I like to prevent airborne particles and flying dish soap from entering the equation. Not to mention, it looks way cuter like this as it sits on your counter overnight, and it also prevents the urge to stir!
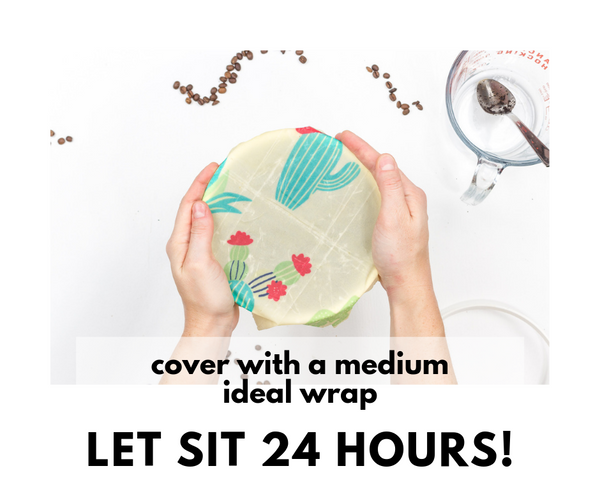
Be patient! It's worth the wait
If you have 24 hours to let it sit – do it! If you need your coffee sooner, you can start the next step in as little as 12 hours. But the 24 hour wait is totally worth it.
Use the handle to move the container and situate it on top of the carafe. Side note: I have been really impressed with how durable the Toddy carafe has been – I have knocked it so many times but it’s still going strong.
Remove the stopper from the bottom, carefully so you don’t get coffee all over you. Sit the container on top of the carafe and walk away. I try to give mine a few HOURS to completely drain. Patience really pays off here. There’s no good way to hurry it along and if you try, you’re likely to end up with a mess.
When I used Inspired Coffee Co.'s coarse ground coffee, the time it took my coffee to fully drain was less than 30 minutes. That's really good, I've had some brews take a couple of hours to fully drain - probably because I ground the beans myself, or used a grind that was too fine. The Inspired Coffee Co. coarse ground seems to be the perfect grind for cold brew.
Even if you use the right coffee, it can still be slow to drain at first, which might make think you did something wrong. This is another reason why I suggest starting off with pre-ground coarse ground coffee. It’s already the right coarseness, so you won’t be second-guessing yourself.
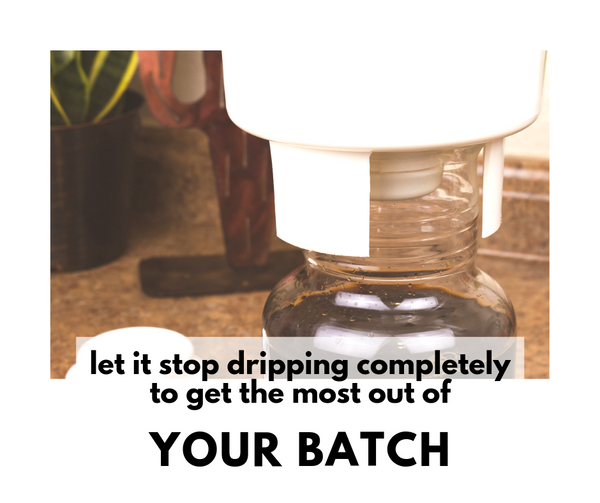
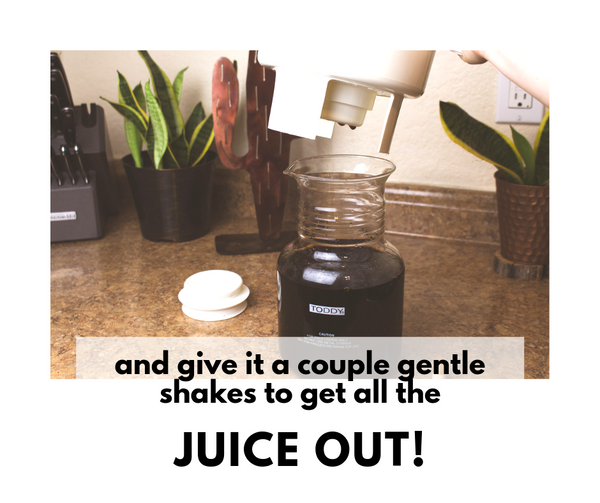
Once the dripping stops, lift the container of grounds and give it a gentle shake to see if it’s completely done draining. If you have a couple good streams coming out, I would leave it a little longer. If you’re only getting a couple of drops, it’s done. A couple more shakes to get all the juice, and then carefully set the container full of grounds into the sink.
Retrieving the filter and cleaning up
The messiest part of making cold brew is what the heck to do with all these grounds.
The generally agreed upon “best” way to dispose of coffee grounds is via compost, but it’s just as well if you throw them out, or reuse them for something clever like a DIY puffy eye reducer (https://www.naturallivingideas.com/recycle-used-coffee-grounds/).
Either way, to get them out of the container, turn the container upside down over a clean trash bag on a flat surface or a pan, and pound once, forcefully. Do a few extra taps if needed, and eventually you’ll be able to grab the filter out of the bottom or it will come out on top of all the grounds. This is why I suggest a clean trash bag – because you don’t want your filter in the trash can with whatever else might be in there.
Wipe out whatever grounds are left, and if a small bit remains it should be okay down the sink. DO NOT rinse any coffee grounds into a garbage disposal and don’t rinse too many grounds even down a regular sink – it may clog. I don’t have a garbage disposal in my sink, and the small amounts of grounds I rinse out have never been a problem.
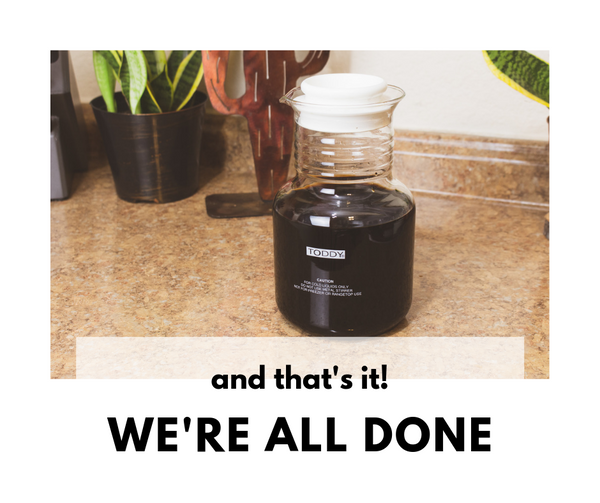
Put the lid on your carafe of coffee and store it in the fridge. Rinse your filter with hot water and some water pressure – it seems to do the trick. I wash my Toddy container by hand, and I always store the stopper and the filter inside the container on a shelf in my pantry. This way they never get separated.
Congratulations! You just brewed your first batch!
How to serve your cold brew coffee
I have a favorite recipe and a back-up recipe for putting together the perfect beverage, and they are both so simple, that you can’t even call them recipes. The reason I love cold brew so much is because it’s so freakin’ simple.
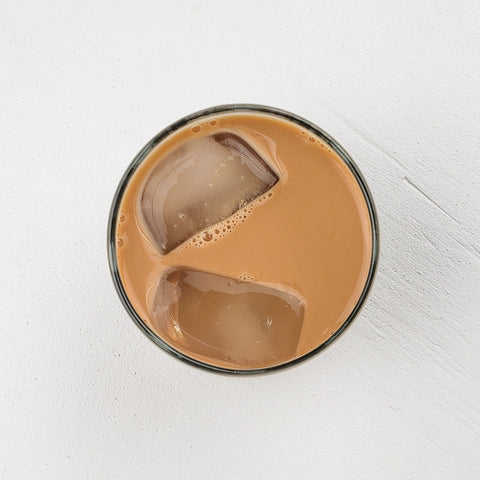
Number 1 – Ice + 1 cup cold brew + 1 Tbsp half and half + water to taste
This is how I make mine almost all of the time (including right now!) I LOVE the taste of real dairy cream in my coffee. Other than this, I never drink dairy milk. I also make mine very strong, because the flavor is just so incredible.
Number 2 – Ice + 1 cup cold brew + 1 cup milk (nut milk, soy milk, dairy milk, they’re ALL good!)
When I run out of half and half, I turn to recipe #2. This is also extra easy, because I always have almond milk or soy milk on hand for midnight cereal. Experiment with different milks to find the one that you like! You might be surprised to find an unexpectedly delicious combination!
Number 3 – Ice + Cold brew + equal part water
Simplicity. If you’re a TRUE coffee fan, you’ll love drinking your cold brew just like this!
Conclusion
I hope you feel empowered to make your daily Starbucks run a thing of the past without feeling like it’s a sacrifice!
I am so glad I found homemade cold brew. I know it sounds like a small thing, but it's become a staple for me. If I'm having a "blah" day, knowing I have a fresh batch of Toddy in the fridge lifts my spirits right up - the caffeine certainly helps, too!
Do you make your own cold brew? Are you going to start? How do you mix your coffee drink? Do you recycle or compost used coffee grounds? Let us know in the comments!

